Fancy Mac

mac n' cheese with goat cheese, bacon, and cranberries

mac n’ cheese with goat cheese, bacon, and cranberries

Sometimes I like to get a little fancy in the kitchen, and when I say fancy – I mean I make easy things look complicated.  Wait, let me take that back… now that I think about it mac n’cheese is complicated!  Everyone thinks its sooo easy but it’s not, unless your making it from a box.  Anyone can make it from a box, but not everyone can make it from scratch.

First of all I love any kind of cheese, but goat cheese is just plain delicious!  Most people don’t like goat cheese because of its tangy flavor, the best way I can describe it is tangy cream cheese.  When paired with something sweet like cranberries, it taste like a little piece of heaven… yummmm…. and throw bacon in the mix even better!!  The best way to describe this fancy pants mac n’cheese is Thanksgiving on a plate.


Ingredients

  • Kosher salt
  • 1 pound elbow macaroni or shells
  • 1 1/2 cup milk
  • 8 tablespoons (1 stick) unsalted butter, divided
  • 1/2 cup all-purpose flour
  • 8 ounces goat cheese
  • 8 ounces mozzarella, grated (2 cups)
  • 3 cups chopped bacon
  • 1/4 cup of dried cranberries chopped
  • 1/2 teaspoon freshly ground black pepper
  • 1/2 teaspoon rosemary
  • 1 cup Panko bread crumbs

Directions

Preheat the oven to 375 degrees F.

In a large pot of boiling salted water add the macaroni and cook according to the directions on the package, 6 to 8 minutes. Drain well.

Meanwhile, heat the milk in a small saucepan, but don’t boil it. Melt 6 tablespoons of butter in a large (4-quart) pot and add the flour. Cook over low heat for 2 minutes, stirring with a whisk. While whisking, add the hot milk and cook for a minute or two more, until thickened and smooth. Off the heat, add the goat cheese, mozzarella, 1 tablespoon salt, pepper, and rosemary.  In a 3-quart baking dish combine the cooked pasta, bacon, and cranberries.  Pour cheese sauce over pasta.

Bake for 30 to 35 minutes, or until the sauce is bubbly and the macaroni is browned on the top.

Steak Sandwich with Chipotle Sauce

Steak Sandwich with Chipotle Sauce and Sweet Potato Fries

Steak Sandwich with Chipotle Sauce and Sweet Potato Fries


THE GET OUT OF JAIL FREE MEAL! 

Spend too much money…MAKE THIS SANDWICH.  Pay a bill late…MAKE THIS SANDWICH.  Stay out too late with the guys…MAKE THIS SANDWICH. You forgot your anniversary…MAKE THIS SANDWICH.  Shrunk his favorite sweater…MAKE THIS SANDWICH. Trust me, make this sandwich for your significant other and they will forget all about what you did.

The first time we had this sandwich was with my friend Jenny, she was at working at an upscale restaurant and recommended it to my Husband.  He fell in love, and I became jealous of a sandwich.  Sad but true. The sandwich was so simple and good, not to mention good-looking.  Warm French bread, oozing cheese, steaming peppers, thin cut layers of Steak, and a pastel orange sauce that had the perfect amount of heat.  How could I not be jealous? I asked Jenny if she knew the secret to this sauce, she laughed and said it was only two ingredients!!!  I couldn’t believe it, here we were paying around $18 each for a sandwich and fries, and the main component that kept us coming back for more was only two ingredients!!!!!!  I could have saved my dollars and bought some shoes!  Needless to say the place closed, and I had to make my version of this steak sandwich.

For all the ingredients I spent $23.75, and this meal feeds about five that’s about $4.oo a person a whole lot better than $18 each.  There are so many benefits to making this yourself:

1. its cheaper! I can’t say that enough.
2. You can have seconds, or thirds.
3. You won’t embarrass yourself in public when you’re licking the plate.
4. You can eat this in front of your television, in your pajamas.

Sandwich:

  • Thin sliced steak (skirt, sirloin, and tenderloin work great)
  • Red Pepper
  • Green Pepper
  • Onions
  • Garlic
  • Mozzarella
  • Spinach
  • French Bread

Sauce:

  • 1 can of Chipotle Peppers (whole)
  • 4 tablespoons Mayonnaise  (sour cream, or Greek yogurt can be substituted)

Fries:

  • 3 Sweet Potatoes
  • 3 table spoons Olive oil
  • 1 table-spoon Rosemary
  • Salt & Pepper

Directions:

Pre heat oven at 400°

Fries:

Start this first!!! Takes the longest but so worth it! Trust me!

  • Cut into large matchstick wedges
  • Toss with olive oil, rosemary, salt, and pepper
  • Place on baking sheet and bake for 40 minutes.

Sandwich:

  • Chop all veggies into thin strips
  • Sauté until soft (about 7-10 minutes)
  • Season Steaks with salt and pepper
  • Grill Steaks (I use a stove top grill, but if you can grill outside I recommend it!)
  • Flip steak and place a slice of Mozzarella on top of steak so it heats up and melts

Sauce:

  • Place Chipotle Peppers, and Mayonnaise in blender.
  • (Add more or less Mayonnaise depending on how much spiciness you like)

Assemble Sandwich.  Stuff your face, and rub your belly.

Chile Rellenos

wpid-storageemulated0DCIMCamera2014-03-18-19.04.32.jpg.jpg

If you ever made Chile Reyenos you know how much labor goes into making them, its almost like your going to war with a Poblano Pepper!  First of all, I don’t have the patience or arm strength to beat egg whites to death.  I want to eat, not workout.  Then, when you finally get your peppers covered in egg and placed in the pan it falls right off! Not to mention, I HATE the aftermath of frying  them. I’m left with tiny burn marks on my arms from oil popping all over the place, (I always forget to use the pan lid as a shield) and your clothes, hair, towels, pillows, curtains I mean EVERYTHING in your house smells like cooking oil.  I’m not about that life.  That smell is my biggest pet peeve.  Just because I’m Mexican doesn’t mean I have to smell like a greasy tortilla chip!!!!!  And the smell last for days.  All that work for five cheesy, glorious bites of a stuffed pepper.

So to avoid injury and a workout, I decided to wrap my chiles with dough. Yes I know I’m a genius. I’ve made them this way with three different types of dough, Puff Pastry, Phyllo dough, and Crescent rolls which is what I used today.  Each gives the pepper a different texture and flavor.  The puff pastry gives a sweeter flavor and crispness,  Phyllo dough turns into a delicate flakey crust, and the crescent roll is soft and buttery.  My favorite of the three is the Puff Pastry it’s all three rolled into one! There still are some technical steps to make Chile Reyenos, but it’s so worth it.   Trust me this is so much easier, and you wont even miss the egg coating.  You’ll never want to eat it any other way again.

wpid-storageemulated0DCIMCamera2014-03-18-18.08.20.jpg.jpg

Ingredients:

  • Poblano Pepper’s as many as you need, or can eat
  • Queso Fresco- Mexican crumbling cheese
  • Queso Chiuaua- Mexican melting cheese
  • Crescent rolls- I used 2 triangle pieces for each pepper

If using any of the next of items you will need extra ingredients.

  • Puff Pastry- if your going this route you’ll need one beaten egg to seal pastry.
  • Phyillo dough-  you will need to use olive oil or butter in between each sheetwpid-storageemulated0DCIMCamera2014-03-18-18.03.20.jpg.jpgwpid-storageemulated0DCIMCamera2014-03-18-18.06.54.jpg.jpg
  • Directions:  pre-heat: oven 350˙
      1. Roast the peppers. I just throw them on top of the stove turning them till they are burnt.  Your home will smell d
      2. Place the peppers in a Ziploc bag; the steam will loosen the skin of the pepper.  Leave in bag for about five minutes.
      3. Peel burnt skin off pepper- I like to use a butter knife just scrape skin off.
      4. wpid-storageemulated0DCIMCamera2014-03-18-22.36.28.jpg.jpgwpid-storageemulated0DCIMCamera2014-03-18-22.23.01.jpg.jpg
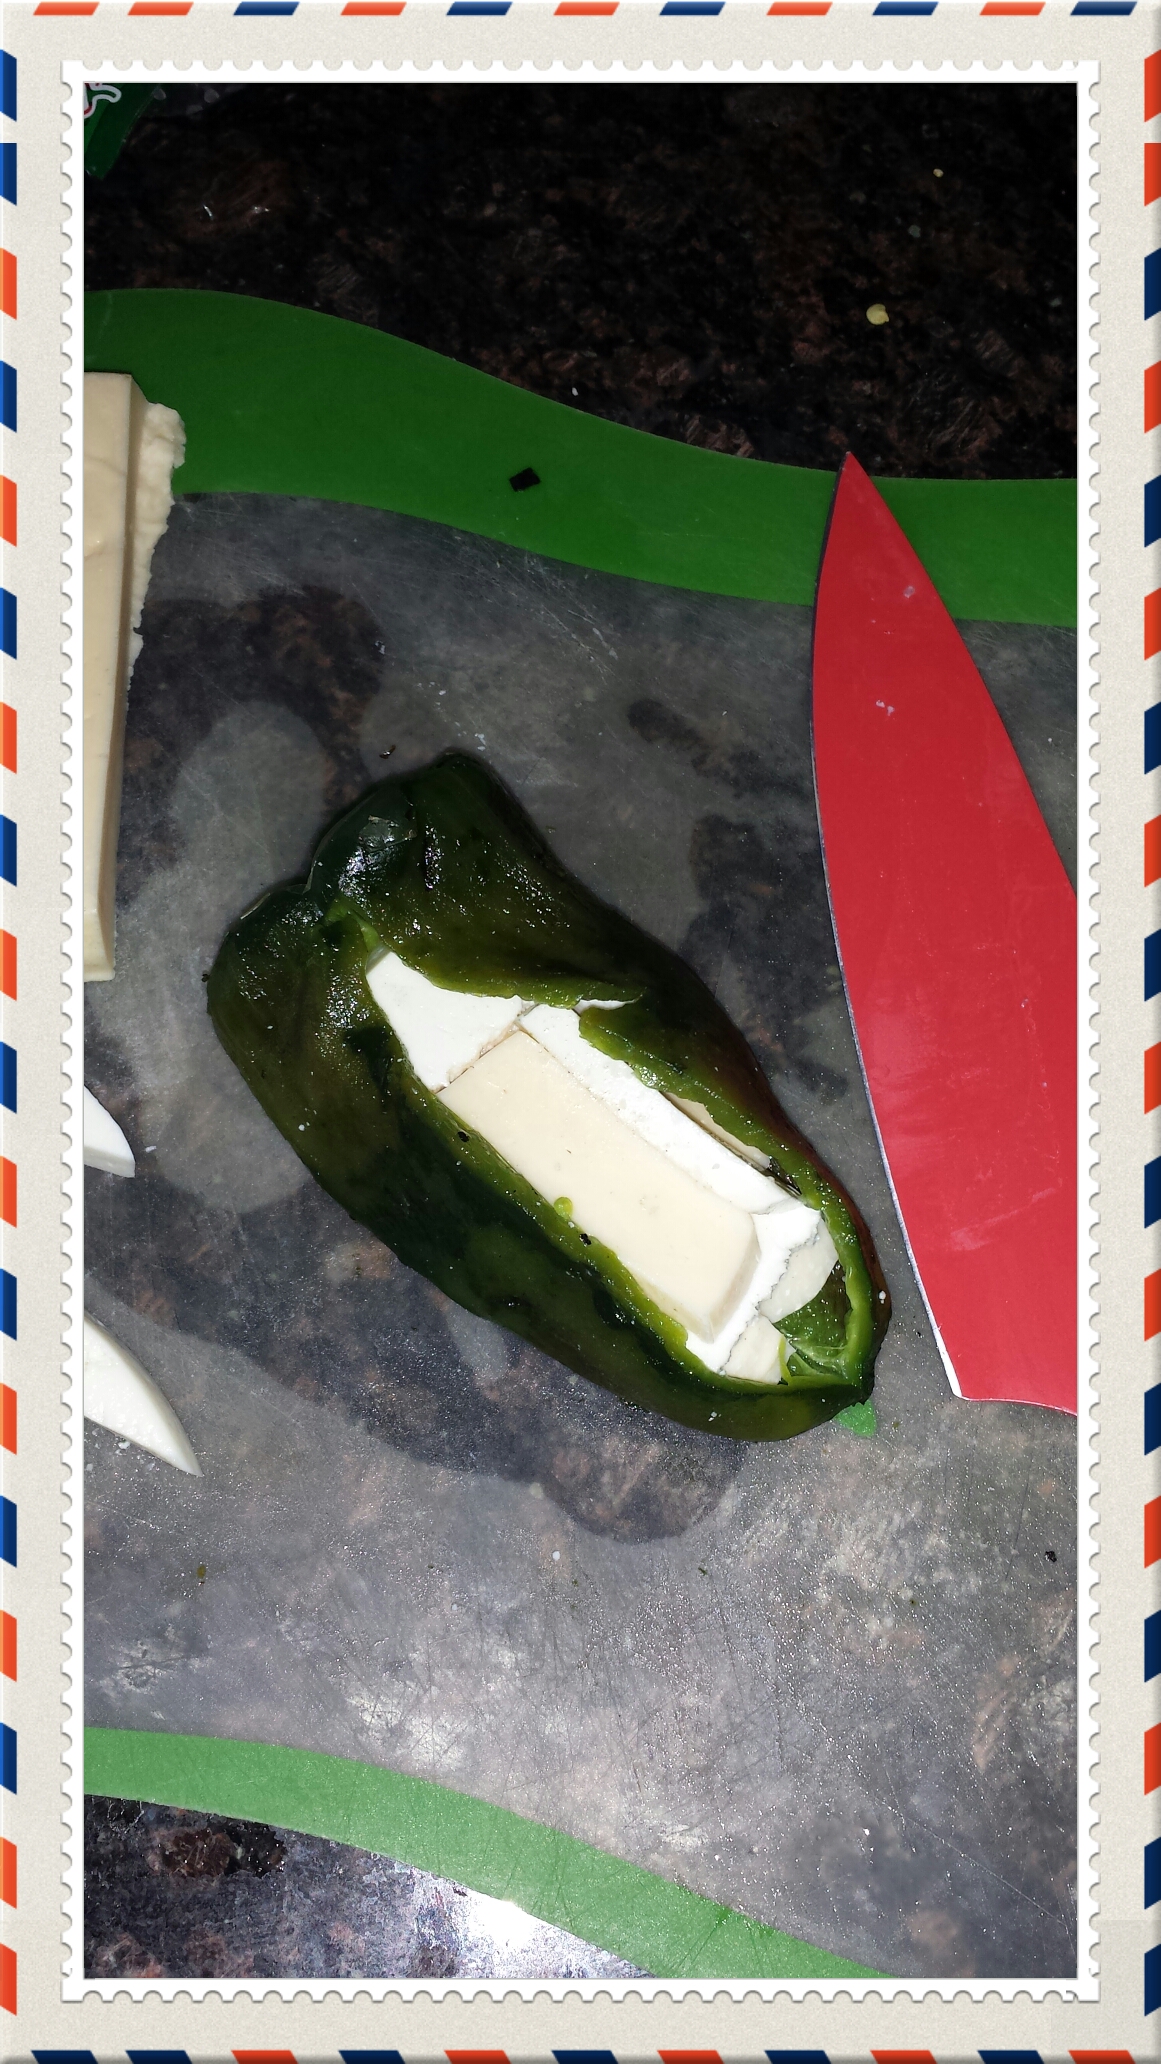
Deseed- make incision big
      5. enough to take out the seeds- becareful you don’t cut through whole pepper the goal is to stuff them.
      6. Stuff – I like to use 2 different cheeses, use as much as you want!
      7. Wrap- whichever dough you plan on using wrap around pepper so that the incision is closed and covered.
      8. Bake- 15 minutes or until golden brown.
      9. Serve with any side you want, I went for a salad and quinoa.
      10. Enjoy & Thank me later.
        wpid-storageemulated0DCIMCamera2014-03-18-22.20.53.jpg.jpg