
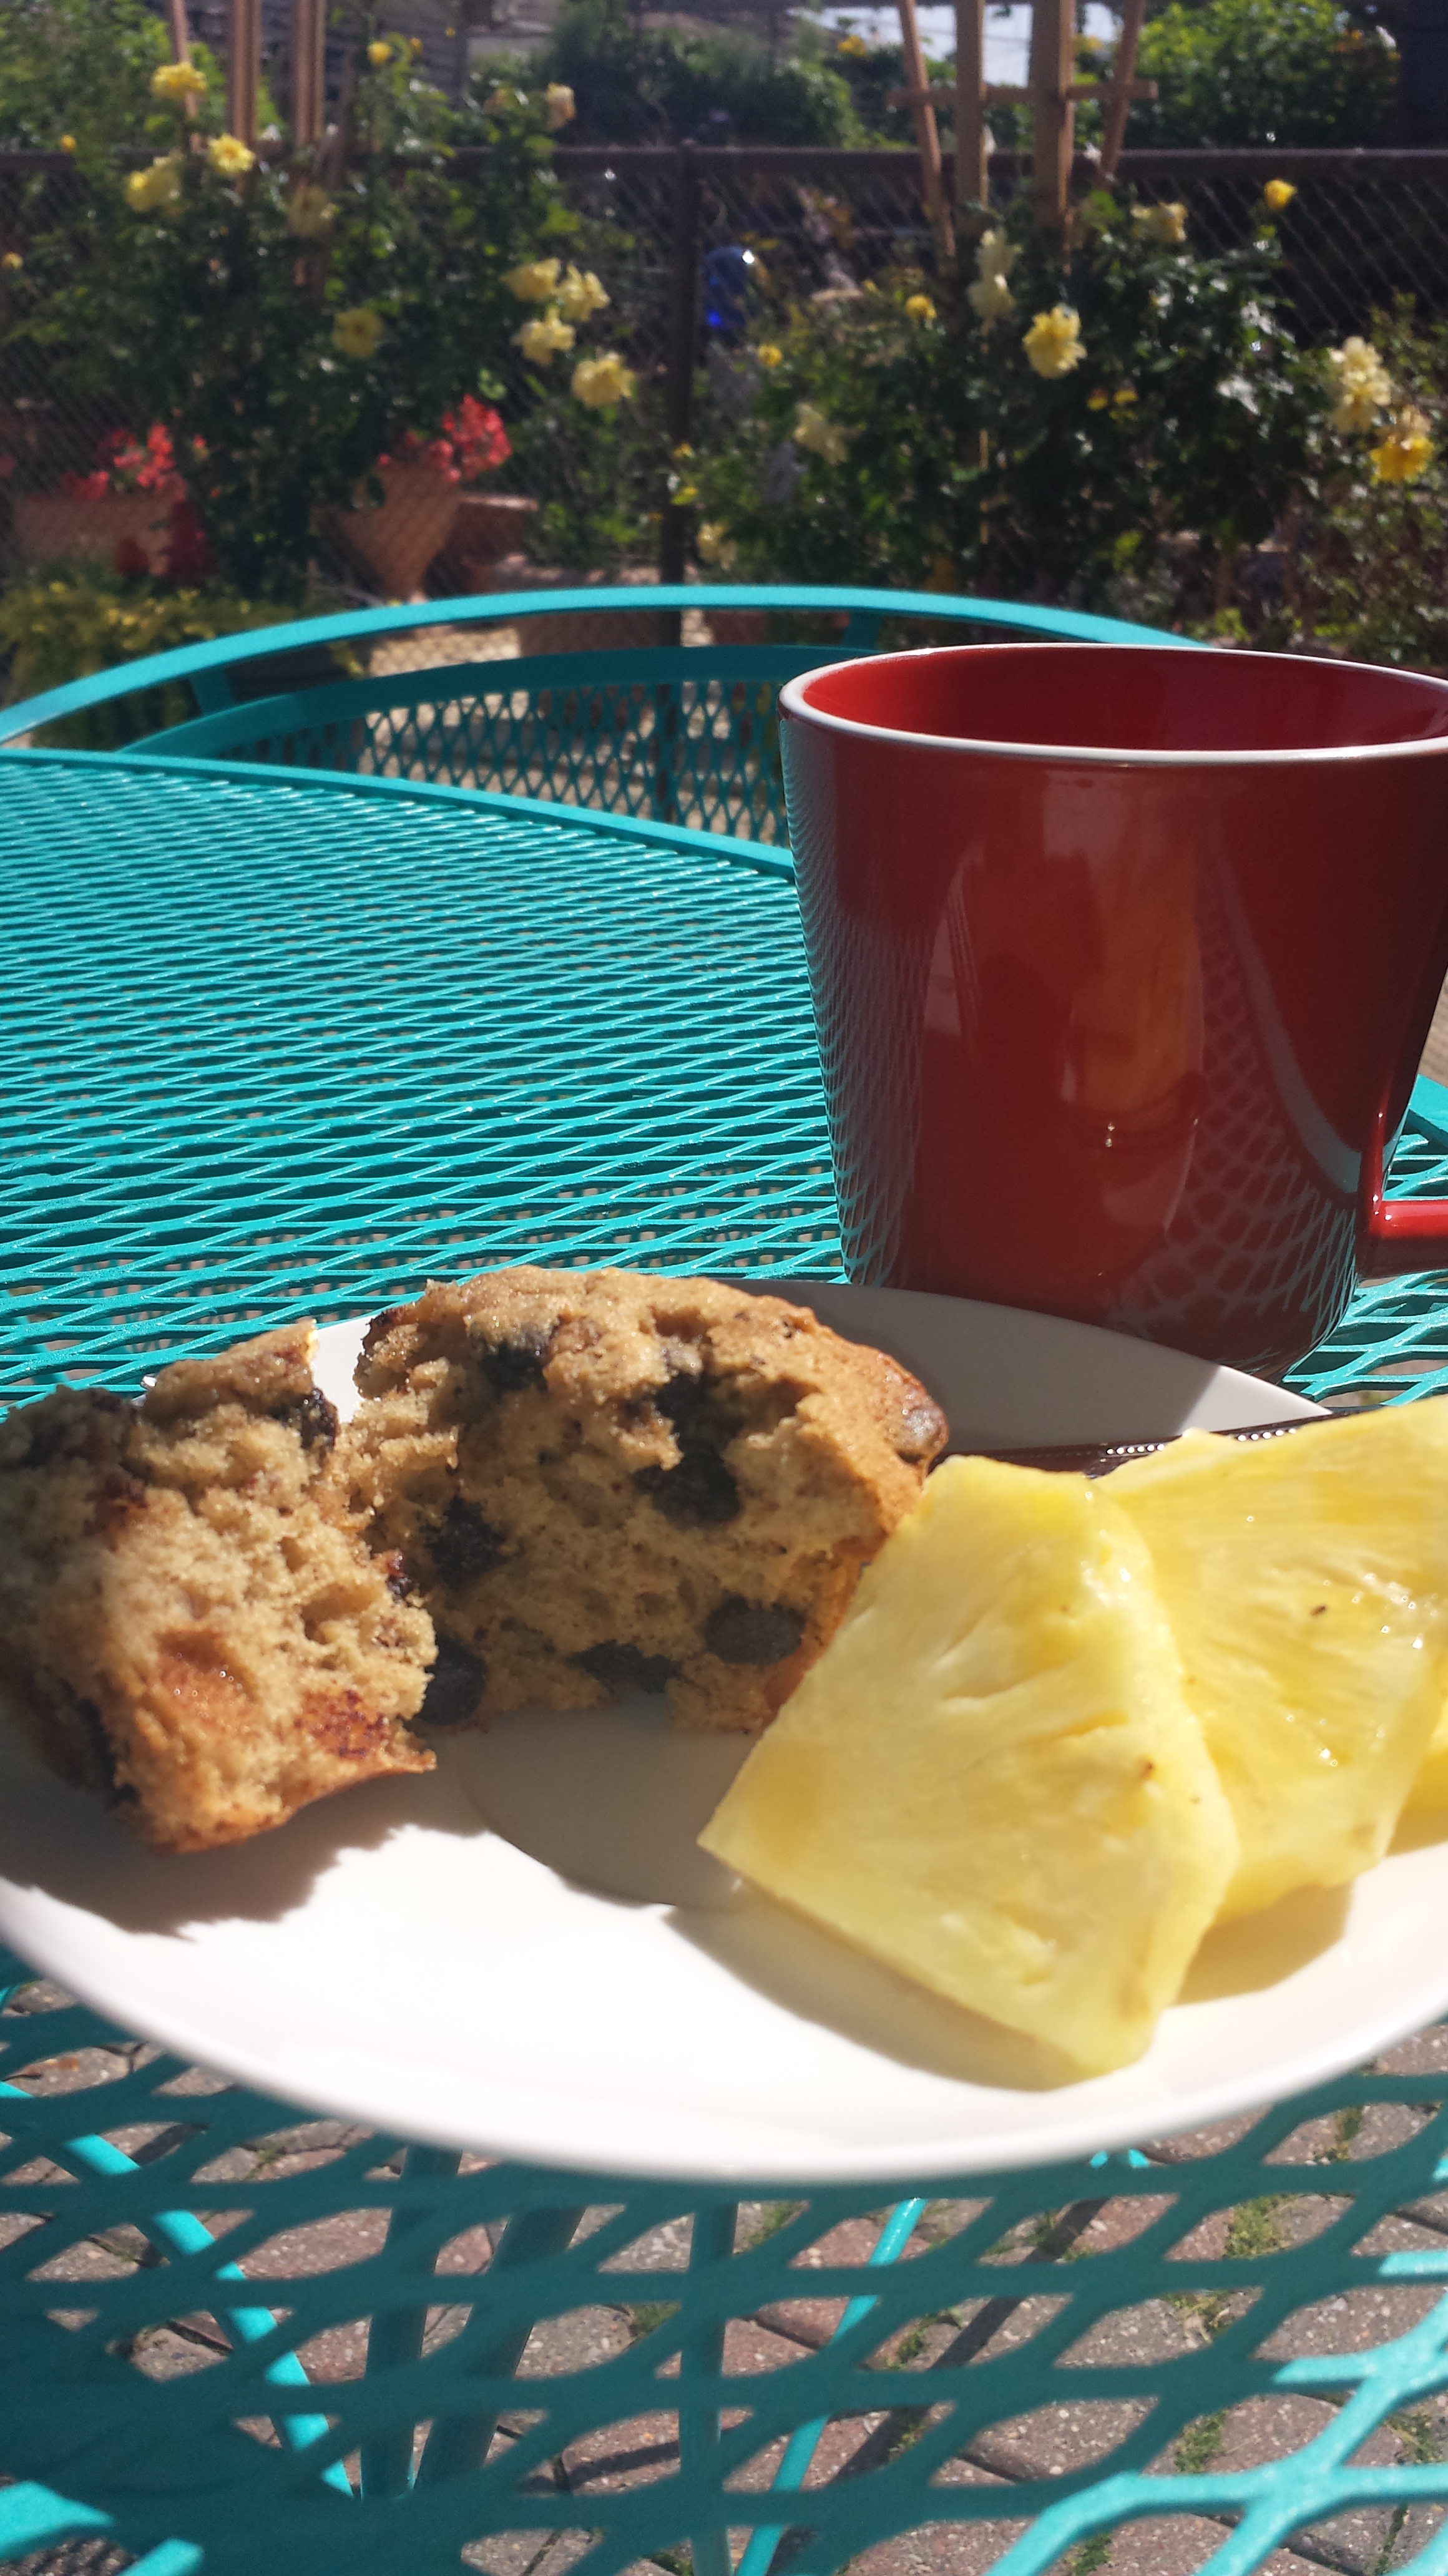
Oatmeal Chocolate Chip Banana Muffins
One of my worst habits has to be over paying for coffee, and some type of pastry before work. Yes, Starbucks takes so much of my money that I actually contemplated getting a job there so I can get free stuff. I decided to challenge myself this week by not going into a Starbucks this week. For this to happen I would actually have to make my own coffee and my own breakfast treat. And before anyone tells me that I shouldn’t eat a carb for breakfast, and how bad it is – ME AND MY BIG BUTT ALREADY KNOW THIS. I’m Mexican, we love our pan con cafe. LOL. I’m taking small steps to change my habits.
We are not really big banana eaters in this house, but for some reason we always seem to have bananas lying around getting brown. Some weeks we’re like monkeys, the next we’re over them and they just sit there getting all brown and soggy. Most of the time they get thrown into the freezer and saved for a smoothie later. And it just so happens we have a bunch of brown, soggy bananas sitting in a fruit bowl. I decided to make banana muffins because they are so easy to throw together… and it seemed like a healthy option.
Banana bread is good on its own, but add chocolate chips to the mix….. wooooooo! This will not disappoint your taste buds, especially when you bite into a warm muffin. Sweet enough for your tooth, healthy enough for your guilt.
Ingredients
2 cup all-purpose flour
2/3 c. old-fashioned rolled oats (not quick cooking)
2/3 c. brown sugar
2 eggs
12 tbsp. melted butter
6 tbsp. sour cream (or buttermilk)
1 c. mashed ripe bananas, about 2 bananas
1 tsp. baking soda
1/2 tsp. salt
2 tsp. vanilla
1 c. chocolate chips ( I really didn’t measure)
DIRECTIONS:
1. Preheat oven to 350 degrees.
2. In the bowl of a stand mixer, beat together melted butter and sugar. Add sour cream and mashed bananas, mix on low for 30 seconds. Add egg and vanilla, mix until just combined.
3. In a small mixing bowl, combine flour, oats, baking soda, and salt. Whisk together then with mixing speed on low, gradually add dry ingredients. Mix until just combined. Remove bowl from stand and fold in chocolate chips. Scoop into muffin tin.
4. Place in oven and bake for 18-22 minutes. The tops should be lightly golden brown and they should be nice and firm. Remove from oven and allow to cool in pans for 2-3 minutes before removing and stuffing your face.


 Deseed- make incision big


